






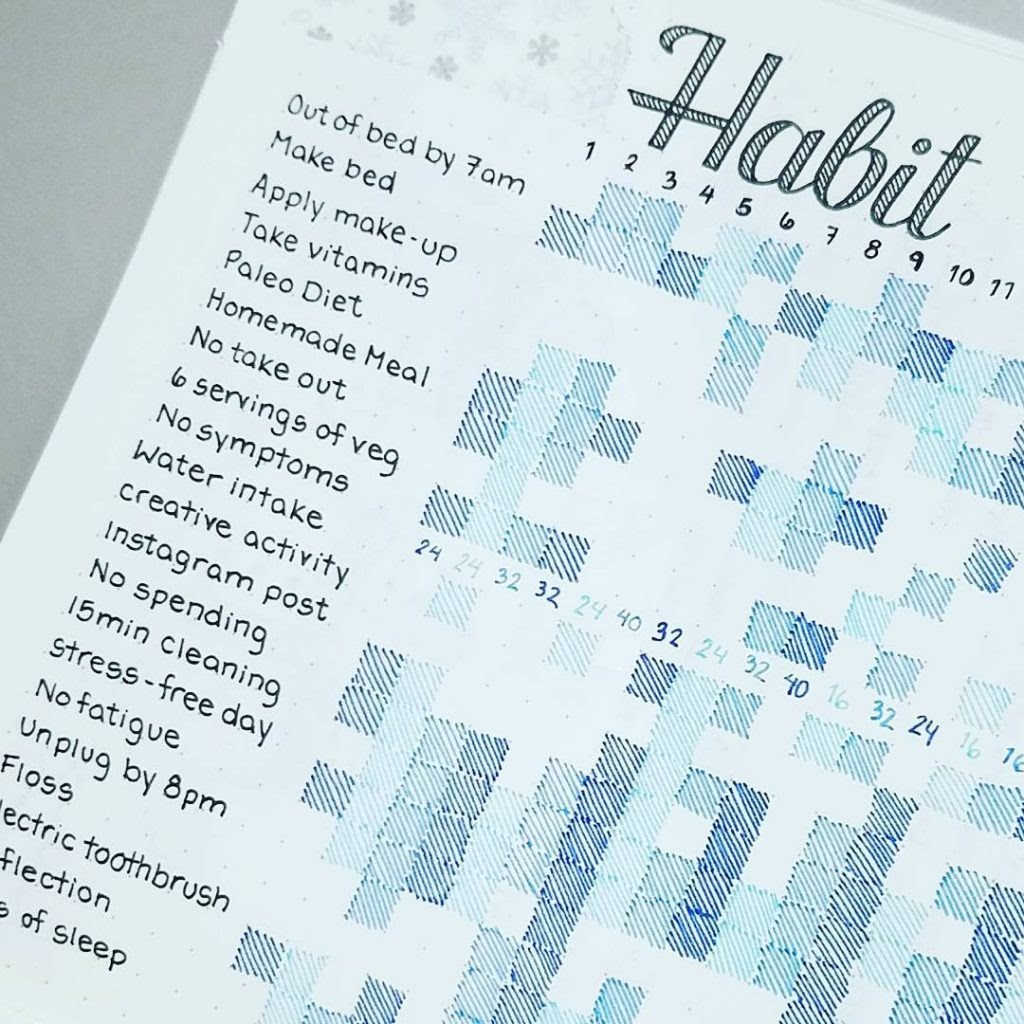
Habit trackers are optional Bullet Journal collections. They record an action you chose to repeat; the page itself does not make the action happen. In an example on the official Bullet Journal site, Dan Knowlton adds the plan for each habit to his tracker, then changes the layout when it stops being useful. That is a better starting point than decorating 31 empty boxes.
Choose a layout by the question you need answered
| Layout | Use it when | Main limitation |
|---|---|---|
| Monthly grid | You want to see several habits across a month | Little room for notes |
| Weekly timeline | Time of day or scheduling affects the action | Uses more page space |
| Mini calendars | You track one or two habits with different schedules | Hard to compare many habits |
| Circular tracker | You enjoy drawing and want a visual record | Slower to set up and read |
| Compact dashboard | You need several small trackers on one spread | Can become crowded |
| Streak chain | The action is genuinely planned every day | Breaks can feel discouraging |
| Routine checklist | You need to follow a sequence | Shows steps, not much context |
| Energy note | You want to test whether a different time is easier | Self-ratings do not prove a cause |
1. Monthly grid
Write dates 1–31 along the top and two or three habits down the side. Put a check in a cell when you do the action. Mark planned days off with a dash so they are not mistaken for missed days. Leave a narrow note column for a change in schedule. A grid makes completion dates visible, but it does not explain why you missed one.
2. Weekly timeline
Give each day a short row with the planned time, the action, and what happened. For example: “Tuesday, after lunch — draft for 20 minutes — moved to evening.” Use this when the problem is fitting an action into a real calendar. You can add the row to an existing weekly spread instead of making a separate page.
3. Mini calendars
Draw one small calendar per habit. Circle the days you intend to do it; tick them when complete. This format suits a habit planned three times a week better than a daily streak. If your schedule changes, redraw next month’s calendar rather than filling it with “failures.”
4. Circular tracker
Draw a circle divided into days or weeks, with one ring for each habit. Color a segment when the action happens. Label the rings clearly; otherwise the finished design can be hard to interpret. Choose it because you enjoy making the page, not because a circle is more effective than a grid.
5. Compact dashboard
Split a page into small boxes, such as “writing,” “movement,” and “home.” Give each box one measurable action and a short weekly row. This keeps unrelated habits visible without mixing them into one dense matrix. If the page needs a legend to decode every mark, remove a box.
6. Streak chain
Draw one link for each completed day and leave a gap when you miss one. It can show a daily practice at a glance, but it is a poor fit for exercise that includes planned rest days or for a habit scheduled only on weekdays. Add a reset note—“restart at next planned session”—so a broken chain does not end the project.
7. Routine checklist
Write a short sequence under an existing cue: “After I open the laptop: close notifications; open the draft; write for ten minutes.” Tick the steps you actually performed. If one step regularly blocks the next, simplify the routine. This page tracks execution of a sequence; it does not need points, levels, or rewards.
8. Energy note
Next to one planned action, note the time and a simple “easy / hard” rating. Try a different time the following week and compare your notes. Workload, sleep, and many other factors can change how a day feels, so treat the pattern as a prompt to test a schedule, not a medical or psychological finding.
Set up the first tracker in five minutes
- Choose one action you can define clearly, such as “read ten pages” instead of “be more productive.”
- Write when you intend to do it and which days count.
- Draw seven boxes or rows; include planned days off.
- Mark the result once a day, without reconstructing forgotten days from memory.
- At week’s end, change the plan or the page if the tracker did not help you decide what to do next.
For possible actions to track, see the habit tracker ideas list. For a workout-specific page, use the health and fitness tracker.
Frequently asked questions
What is the easiest bullet journal habit tracker layout?
A seven-day grid is the quickest to draw: put dates across the top, one or two habits down the side, and mark completed and planned-off days differently.
Should a habit tracker cover a week or a month?
Use a week when you are testing a new schedule or need notes. Use a month when the action is already clear and you mainly want a longer record.
How many habits should I track at once?
Start with one or two actions that you can define and review. Add another only if the page remains easy to maintain; there is no required number.
How do I mark rest days in a habit tracker?
Choose a separate symbol, such as a dash, for days when the action was not planned. This keeps a rest day or scheduled break distinct from an uncompleted plan.
Does a habit tracker build a habit by itself?
No. The tracker records a plan and what happened. A specific action, a workable time or cue, and a review of obstacles make the page useful.
Is a circular tracker better than a grid?
It can be enjoyable to draw, but it takes longer to set up and can be harder to read. A grid is usually clearer when you need to compare several habits.

Lorelei has been an online entrepreneur, marketer and writer since 2006. Her biggest passion is WordPress, which is why she switched to being a full-time blogger 20 years ago and hasn’t looked back since. With so many years of experience behind her, she is an expert in copywriting, SEO, marketing and business strategies.

